Perché acquistare un accordatore per chitarra quando puoi costruirne uno tu stesso? Utilizzando una scheda economica e un algoritmo di elaborazione di segnale intelligente, questo progetto DIY offre un accordatore per chitarra preciso e in real-time, tecnicamente notevole e divertente da usare.
Why buy a guitar tuner when you can build one yourself? Using an inexpensive board and a clever signal processing algorithm, this DIY electronics project delivers a precise, real-time guitar tuner that’s both technically impressive and satisfying to use.
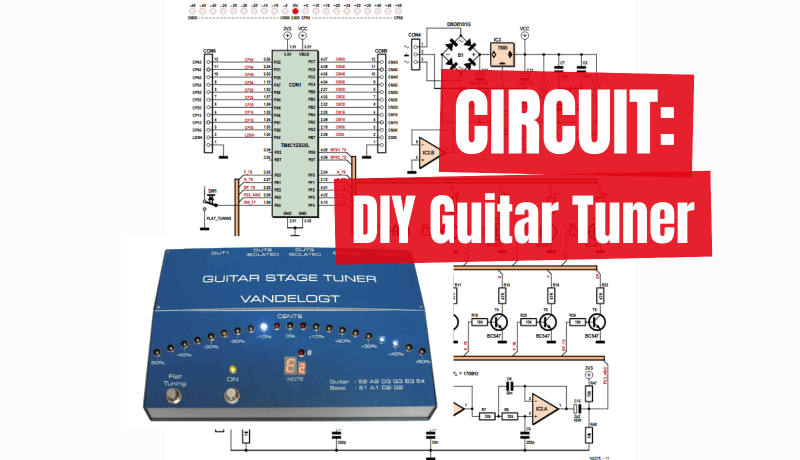
Why DIY a Guitar Tuner?
Sure, you can buy a pro stage tuner for your guitar. But where’s the fun in that? Back in 2014, Emile van de Logt proved that building a guitar tuner was much more satisfying. The idea sounded simple enough: take a guitar signal, determine its fundamental frequency, and show the pitch deviation with a few LEDs. But as with most embedded projects, reality turned out to be much more complex — and rewarding.
Like many guitar players, Emile had been searching for a fast, accurate way to tune his guitars. While commercial pedal tuners get the job done, the good ones are pricey and not always readable on stage. After purchasing a professional model, he quickly began sketching out how a homemade version could work — and how a bit of signal processing might save both money and desk space.
The prototype
That’s when a colleague handed him a Texas Instruments TM4C123GXL Launchpad board. With a fast ARM Cortex-M4F microcontroller on board (complete with floating point unit and DSP support), Emile had the perfect platform for audio signal analysis. And at just $13 (the price at the time), the price-performance ratio was hard to beat.
The Circuit and Software Integration
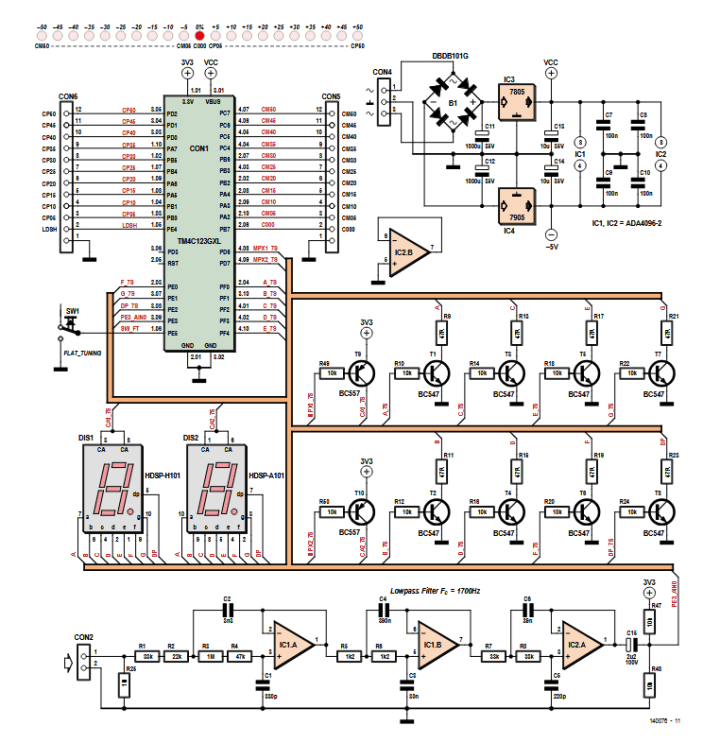
The guitar tuner’s design integrates hardware and software to deliver accurate, real-time pitch detection. The analog guitar signal first passes through a sixth-order, low-pass filter with a 1700 Hz cutoff, designed using TI’s WebBench Filter Designer. While the original design specifies a TI op-amp, a standard LM833 could work just as well.
The circuit diagram does not contain many components. Most of the functionality is located on the TM4C123GXL board.
From there, the signal is sampled by the TM4C123GXL MCU’s ADC at 125 kHz, with 16-fold hardware averaging to improve stability. The system collects 600 samples every 100 milliseconds, which is enough to analyze frequencies as low as 20 Hz.
Samples are stored in a ring buffer and passed to the Yin algorithm, which determines the signal’s fundamental frequency. This value is then matched to the nearest musical note using a lookup function, which also calculates the pitch deviation in cents. (For musicians, a “cent” is a unit of measure for musical intervals. Note: 1 cent is 0.01 semitones.)
Display output is handled by a 200 Hz interrupt routine. It drives:
Two 7-segment displays showing the note and octave
A 21-LED pitch bar indicating how sharp or flat the note is
An animated LED pattern when the string is perfectly in tune
The result is a responsive and readable tuner that processes audio in real time. It is a solution for guitarists who want precision without buying a commercial pedal.
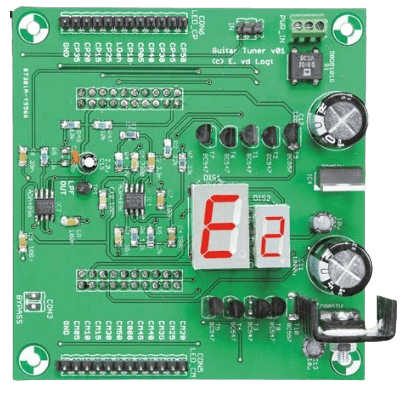
The final PCB differs from the prototype.
Final Assembly and Use
For housing, Emile chose a Hammond chassis with a custom front panel. Because of the enclosure, the LEDs are connected via headers rather than soldered directly to the PCB. The board stack (Launchpad on the bottom, shield on top) makes for a compact and sturdy build.
Setup is straightforward:
Connect the USB, check for a blinking decimal point on the display
Use the Flat Tuning button to cycle through offsets
Plug in a guitar, and pluck a string
The tuner shows the note, octave, and pitch deviation
Tune until the center LED lights up. Done!
The Original Project
The original article, “Stage Tuner for Guitars,” appeared in Elektor July/August 2014. You can read the article for free during the two-week period following the publication of this news item. If you develop your own circuit, please share your progress on the Elektor Labs platform!
Editor's Note: This article originally appeared in a 2014 edition of ElektorMag. Given the age of the project, some components or products might not available, and some of the design techniques might seem antiquated. However, we believe the project will inspire you to start new DIY electronics projects of your own.
Registrazione
Notifica tag: Iscriviti al tag Circuits & Circuit Design e riceverai un’e-mail non appena un nuovo contenuto a riguardo verrà pubblicato sul nostro sito web!


Commenti (0 commenti)